Step 1:
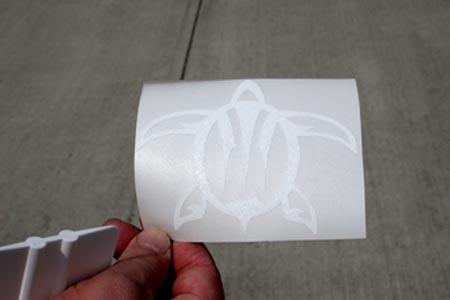
Your sticker will arrive with a protective transfer tape front and a paper backing.
Step 2:
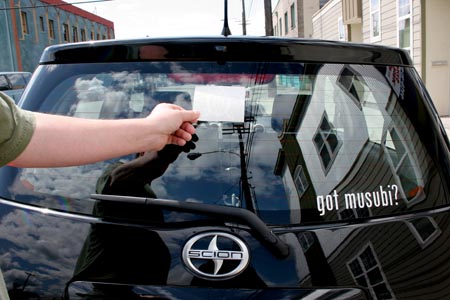
Decide on the the best location for your sticker. For best results make sure to clean your desired sticker location. This will insure that your decal will adhere to the desired surface easily, and last for many years to come.
Step 3:
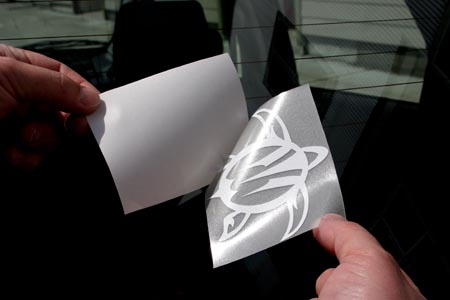
Peel the paper backing away from the sticker slowly. Be sure that the sticker stays attached to the transfer tape.
Step 4:
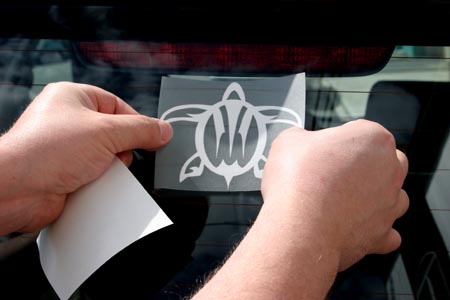
Carefully position your sticker on the desired surface. Once, the decal sticks you will not be able to reposition the sticker without destroying it.
Step 5:
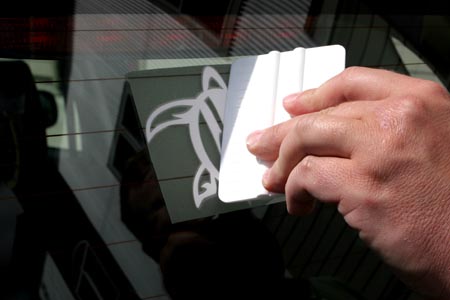
Use a hard edge object like a library card or credit card to rub over the entire surface of the sticker. For best results start in center and rub toward one direction, return to the center and rub in the other direction. Be careful to make sure the sticker is fully adhered to the surface, and remove any air bubbles.
Step 6:

Here's what the sticker will look like fully adhered.
Step 7:
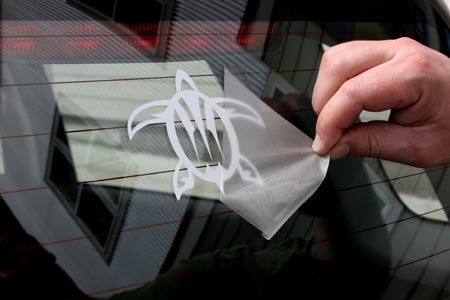
Slowly remove the transfer tape. It's easier to pull in a downward angular fashion. Make sure that the entire decal is removed from the transfer tape, and remains of the surface. no
Step 8:

The sticker is now fully applied. Check the sticker for any air bubbles. The bubbles can be removed by working them to the edge of the sticker. If it's too difficult to move the air bubble try making a small pin hole in the bubble. This will allow the air to leave, and you won't see the pin hole once the air has leave. That's it! Your sticker should last you for many year to come. It will survive nicely through rain, sleet, snow and gentle washings. You can remove the sticker from glass surfaces with a razor blade.
How To Apply A Vinyl Decal Video:
Here's a brief video we made to show you how to apply a decal.
